
Film Photography in a Digital Age

My 35mm cameras: Canon AE-1, and the newly acquired Olympus OM10.
The tl;dr
Is there still a place for film photography in the age of digital?
Yes! Just as there’s a place for vinyl records in the age of Spotify, film photography provides an experience that is impossible to replicate digitally (although Fuji gets incredibly close).
Vintage film cameras (35mm, anyway) can be found for incredibly cheap deals. Garage sales, estate sales, antique stores, and eBay are just a few places to look for cameras and lenses.
What options for film are there? Wasn’t film discontinued?
Obviously your choices are limited, but I’ll break down what I’ve been using lately.
There are far more choices than what I’ll cover, so if you’re really wanting to do something niche, I encourage you to do some research.
Why do it at all?
Shooting film can make you a better photographer; it forces you to slow down and consider each shot before hitting the shutter button.
Film doesn’t have a mini computer inside the camera body trying to compensate for elements of your scene; it just captures the photons hitting the negative, so your results can range from terrible to incredibly creative.
Film in the Age of Digital
When I first began my adventure into photography, it was with film. I quickly gravitated towards slide film without spending too much time researching my options with negative film — mostly because of the enhanced saturation. Slide film is, unfortunately, harder to find these days… but that’s okay! There are some great negative film options to explore.
After transitioning to digital as my full-time medium for photography, it was several years before I revisited film. I’d had a Canon AE-1 on a shelf with some other “antique” cameras purely for decoration. The camera had belonged to my dad; I don’t recall if he gave it to me at some point (I’m pretty sure he did) or if I got it after he passed away at the very end of 2012. At any rate, it occurred to me that, unlike the accordion Polaroid cameras or the 610 format cameras, I could easily get some 35mm film & put the AE-1 to use.
The Canon still had its kit lens on it, a manual focus (autofocus is not supported) 50mm f/1.8; a basic light meter is built in to the camera, which uses a needle along a vertical axis on the right side of the viewfinder to indicate what the ideal aperture setting should be for the ISO and shutter speed. The only “automatic” option offered is shutter priority: the lens can be set to “A” and the aperture will automatically adjust to the best option.
Sometime around 2014 I picked up a roll of Kodak Tri-X TMAX 400 black & white film (36 exposure) and loaded up the camera. I felt my digital work had become too “spray and pray”: I was using burst shot all the time, taking 600-800 images, foregoing all previously acquired skills regarding composition or artistic intent. Using a film camera, I reasoned, would remind me why in-camera composition and artistic vision are important — even in the age of digital photography. I was right.
(As a side note, I’m constantly experimenting with the Fuji film simulation options; shooting actual film myself and comparing the results helps me better determine how I want to adjust my customizations.
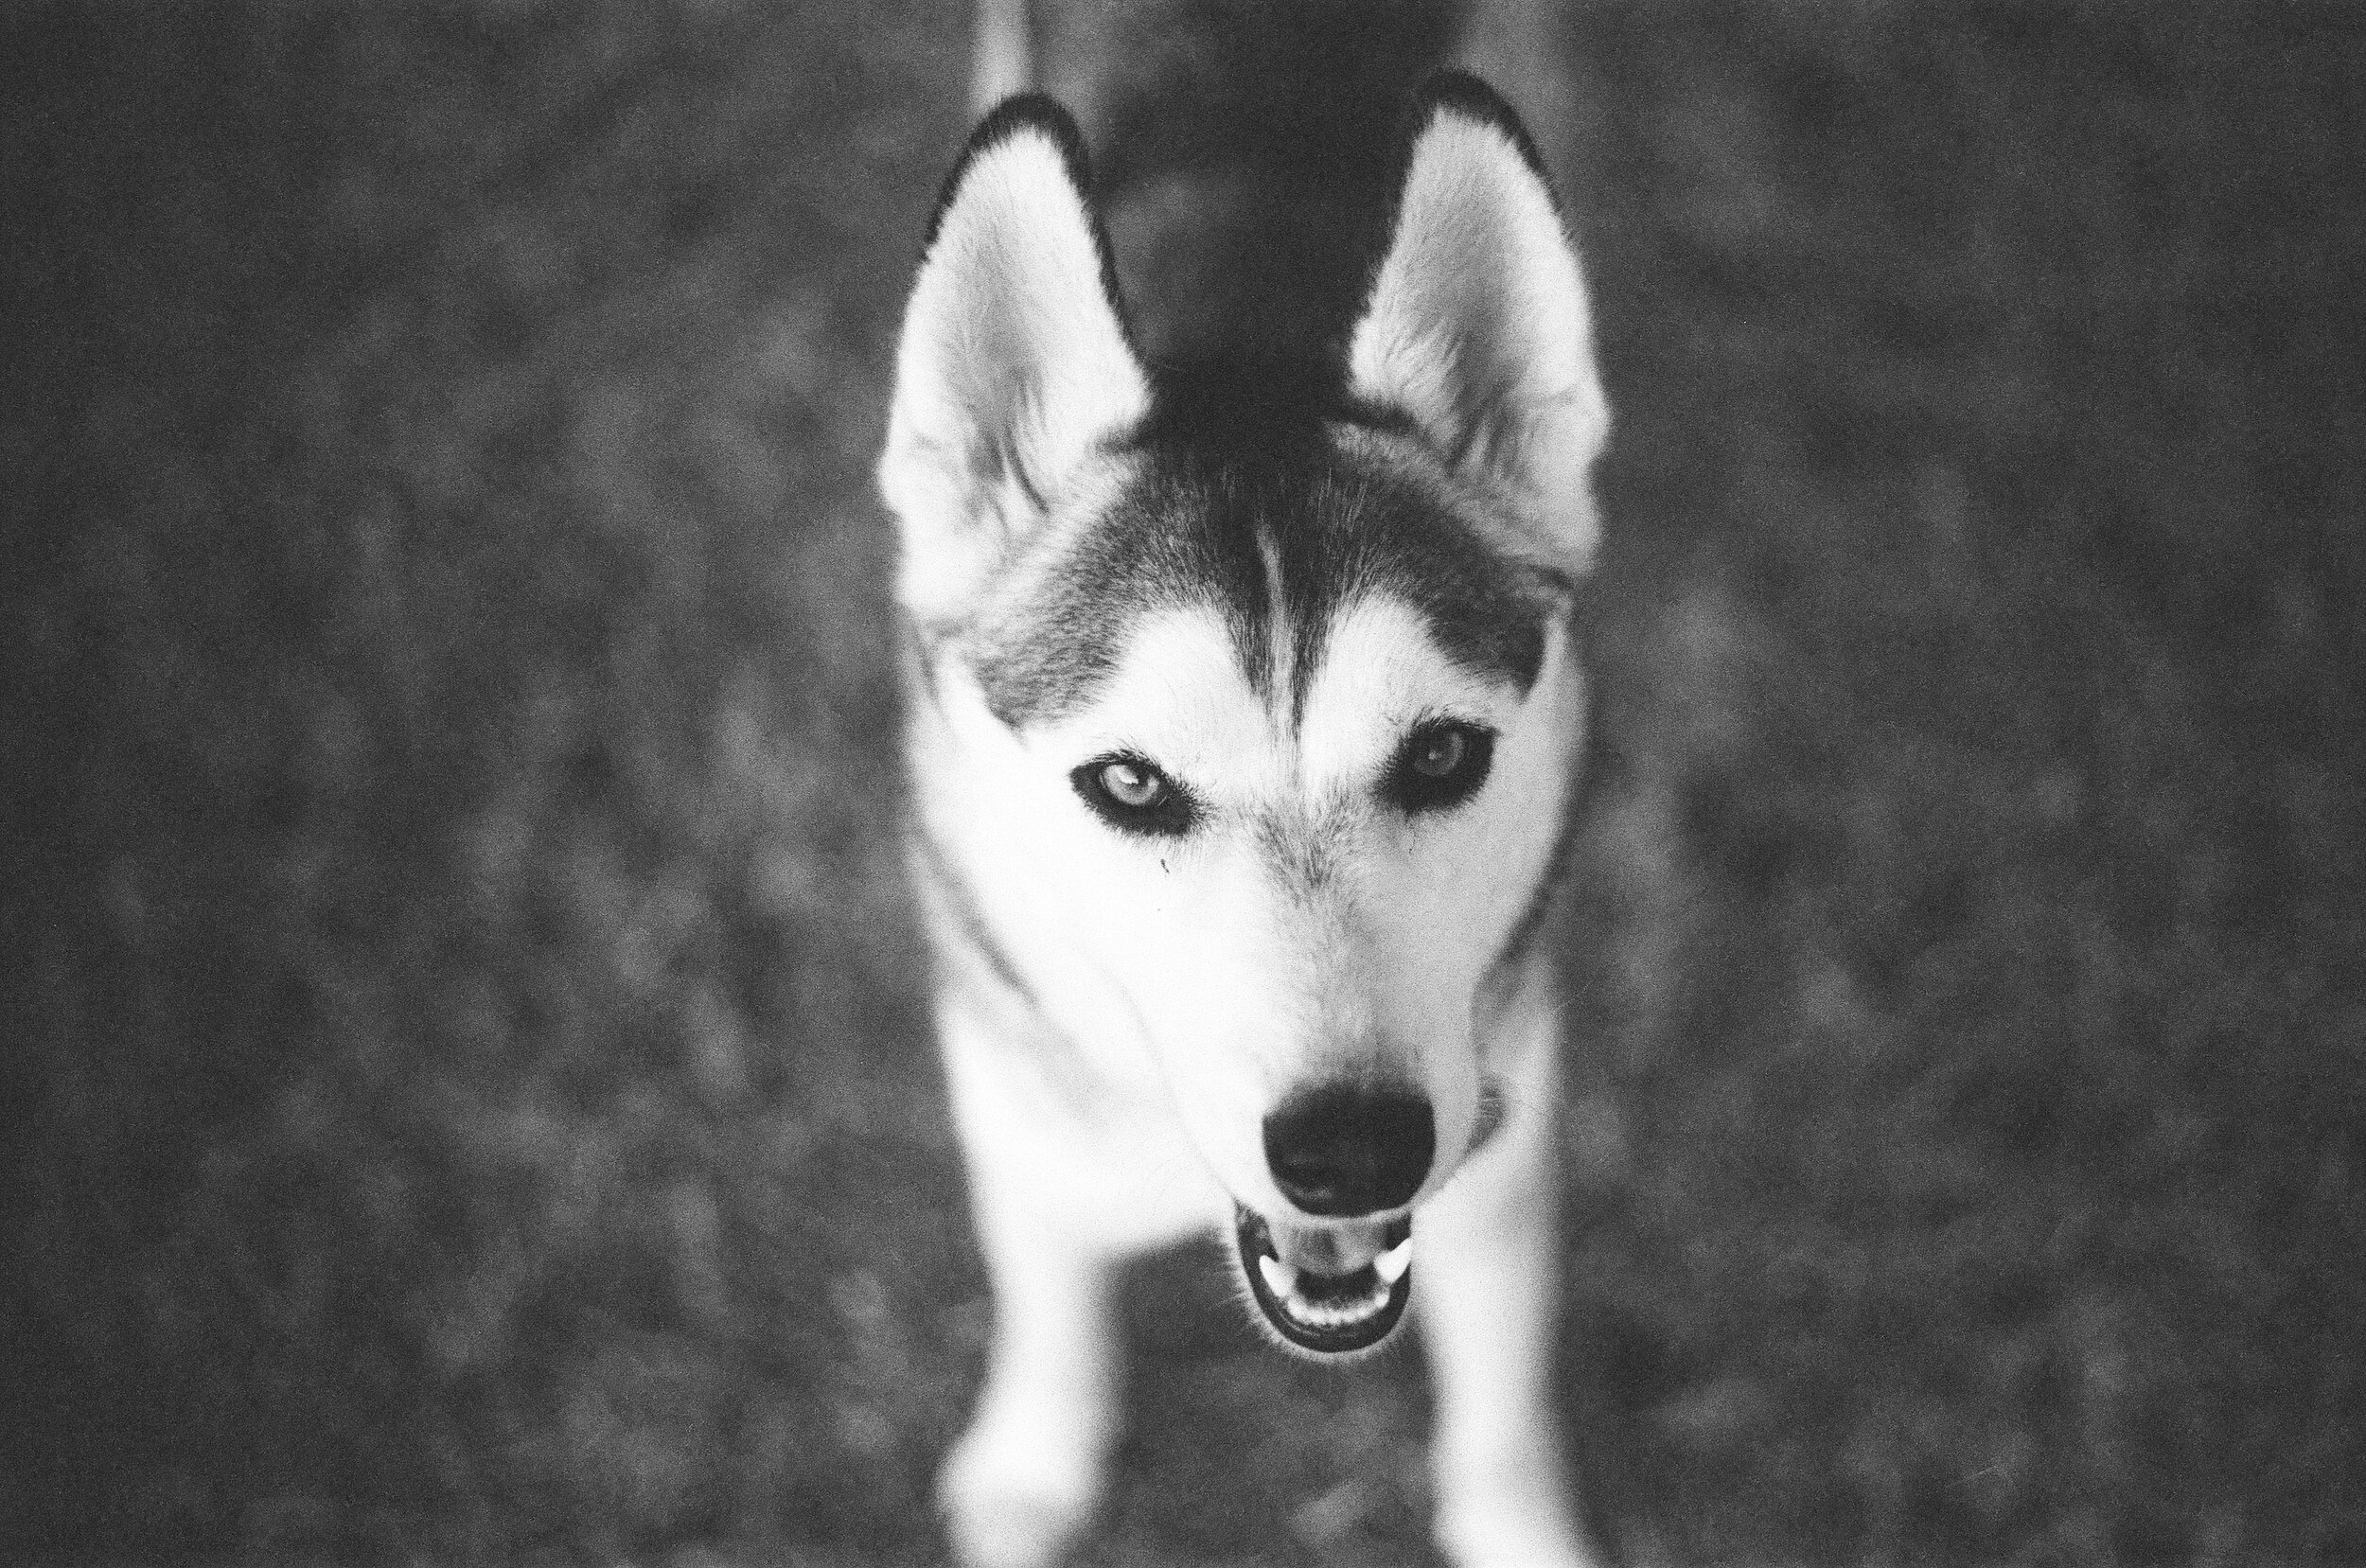
Lesson 1: Sharpness is Overrated
Let’s get this out of the way first: manual focus is a skill and an art. Yes, the split prism in the viewfinder helps; however when you’re shooting wide open at f/1.8, it’s nearly impossible to achieve tack-sharp images. In fact, the lens is just not going to produce super sharp results wide open. No lens really is. Digital photography and autofocus technologies have spoiled us to eye-bleed levels of sharpness.
And look: that’s okay! There are a ton of images where the sharpness of an image is a defining aspect. Just don’t dismiss an image if it’s not painfully sharp to look at. (This is just as relevant in the digital age: one of my favorite images from a 2019 Christmas party is one where the autofocus missed the mark a bit; my first instinct was to dismiss the image in disappointment. That would have been a mistake.)

I’m pretty sure I shot most of that first roll wide open (…as one does, because bokeh!) so quite a few were softly focused. But plenty were also quite sharp. Again, not digital-tack sharp, but clearly not out of focus, either.
Here’s a selection from that roll:


Lesson 2: Grain is Fine (and, sometimes, Coarse)
In just about every post-processing software application, as well as some cameras (definitely on the newer X-Series Fuji’s), the option to add grain can be found. “Why in the world would I want to add grain? Grain is the thing I hated about film!” I hear you. I felt this way for a very, very long time.
Here’s the thing though: grain adds texture. Texture is tactile; it can add a sense of life, of “presence,” to an image.

There’s so much texture already in this image. (Digital)
If you’re shooting at a high ISO on a digital camera, then you’re likely going to get grain. Depending on your camera, that grain could be the worst. On my Canon digital cameras, I’d do everything I could to avoid grain. It was most unpleasant. Fuji, on the other hand, produces a very pleasing grain — both at higher ISO settings, as well as from the menu option to add it.
With film, you’re likely going to see various levels of grain. If you’re shooting 100 speed film in good light with minimal shadows or dark areas, then you might avoid any noticeable grain. In the images posted above, you may notice some grain; as mentioned earlier, the film used was 400 speed, which is a nice blend of “high speed” and “minimal grain.”
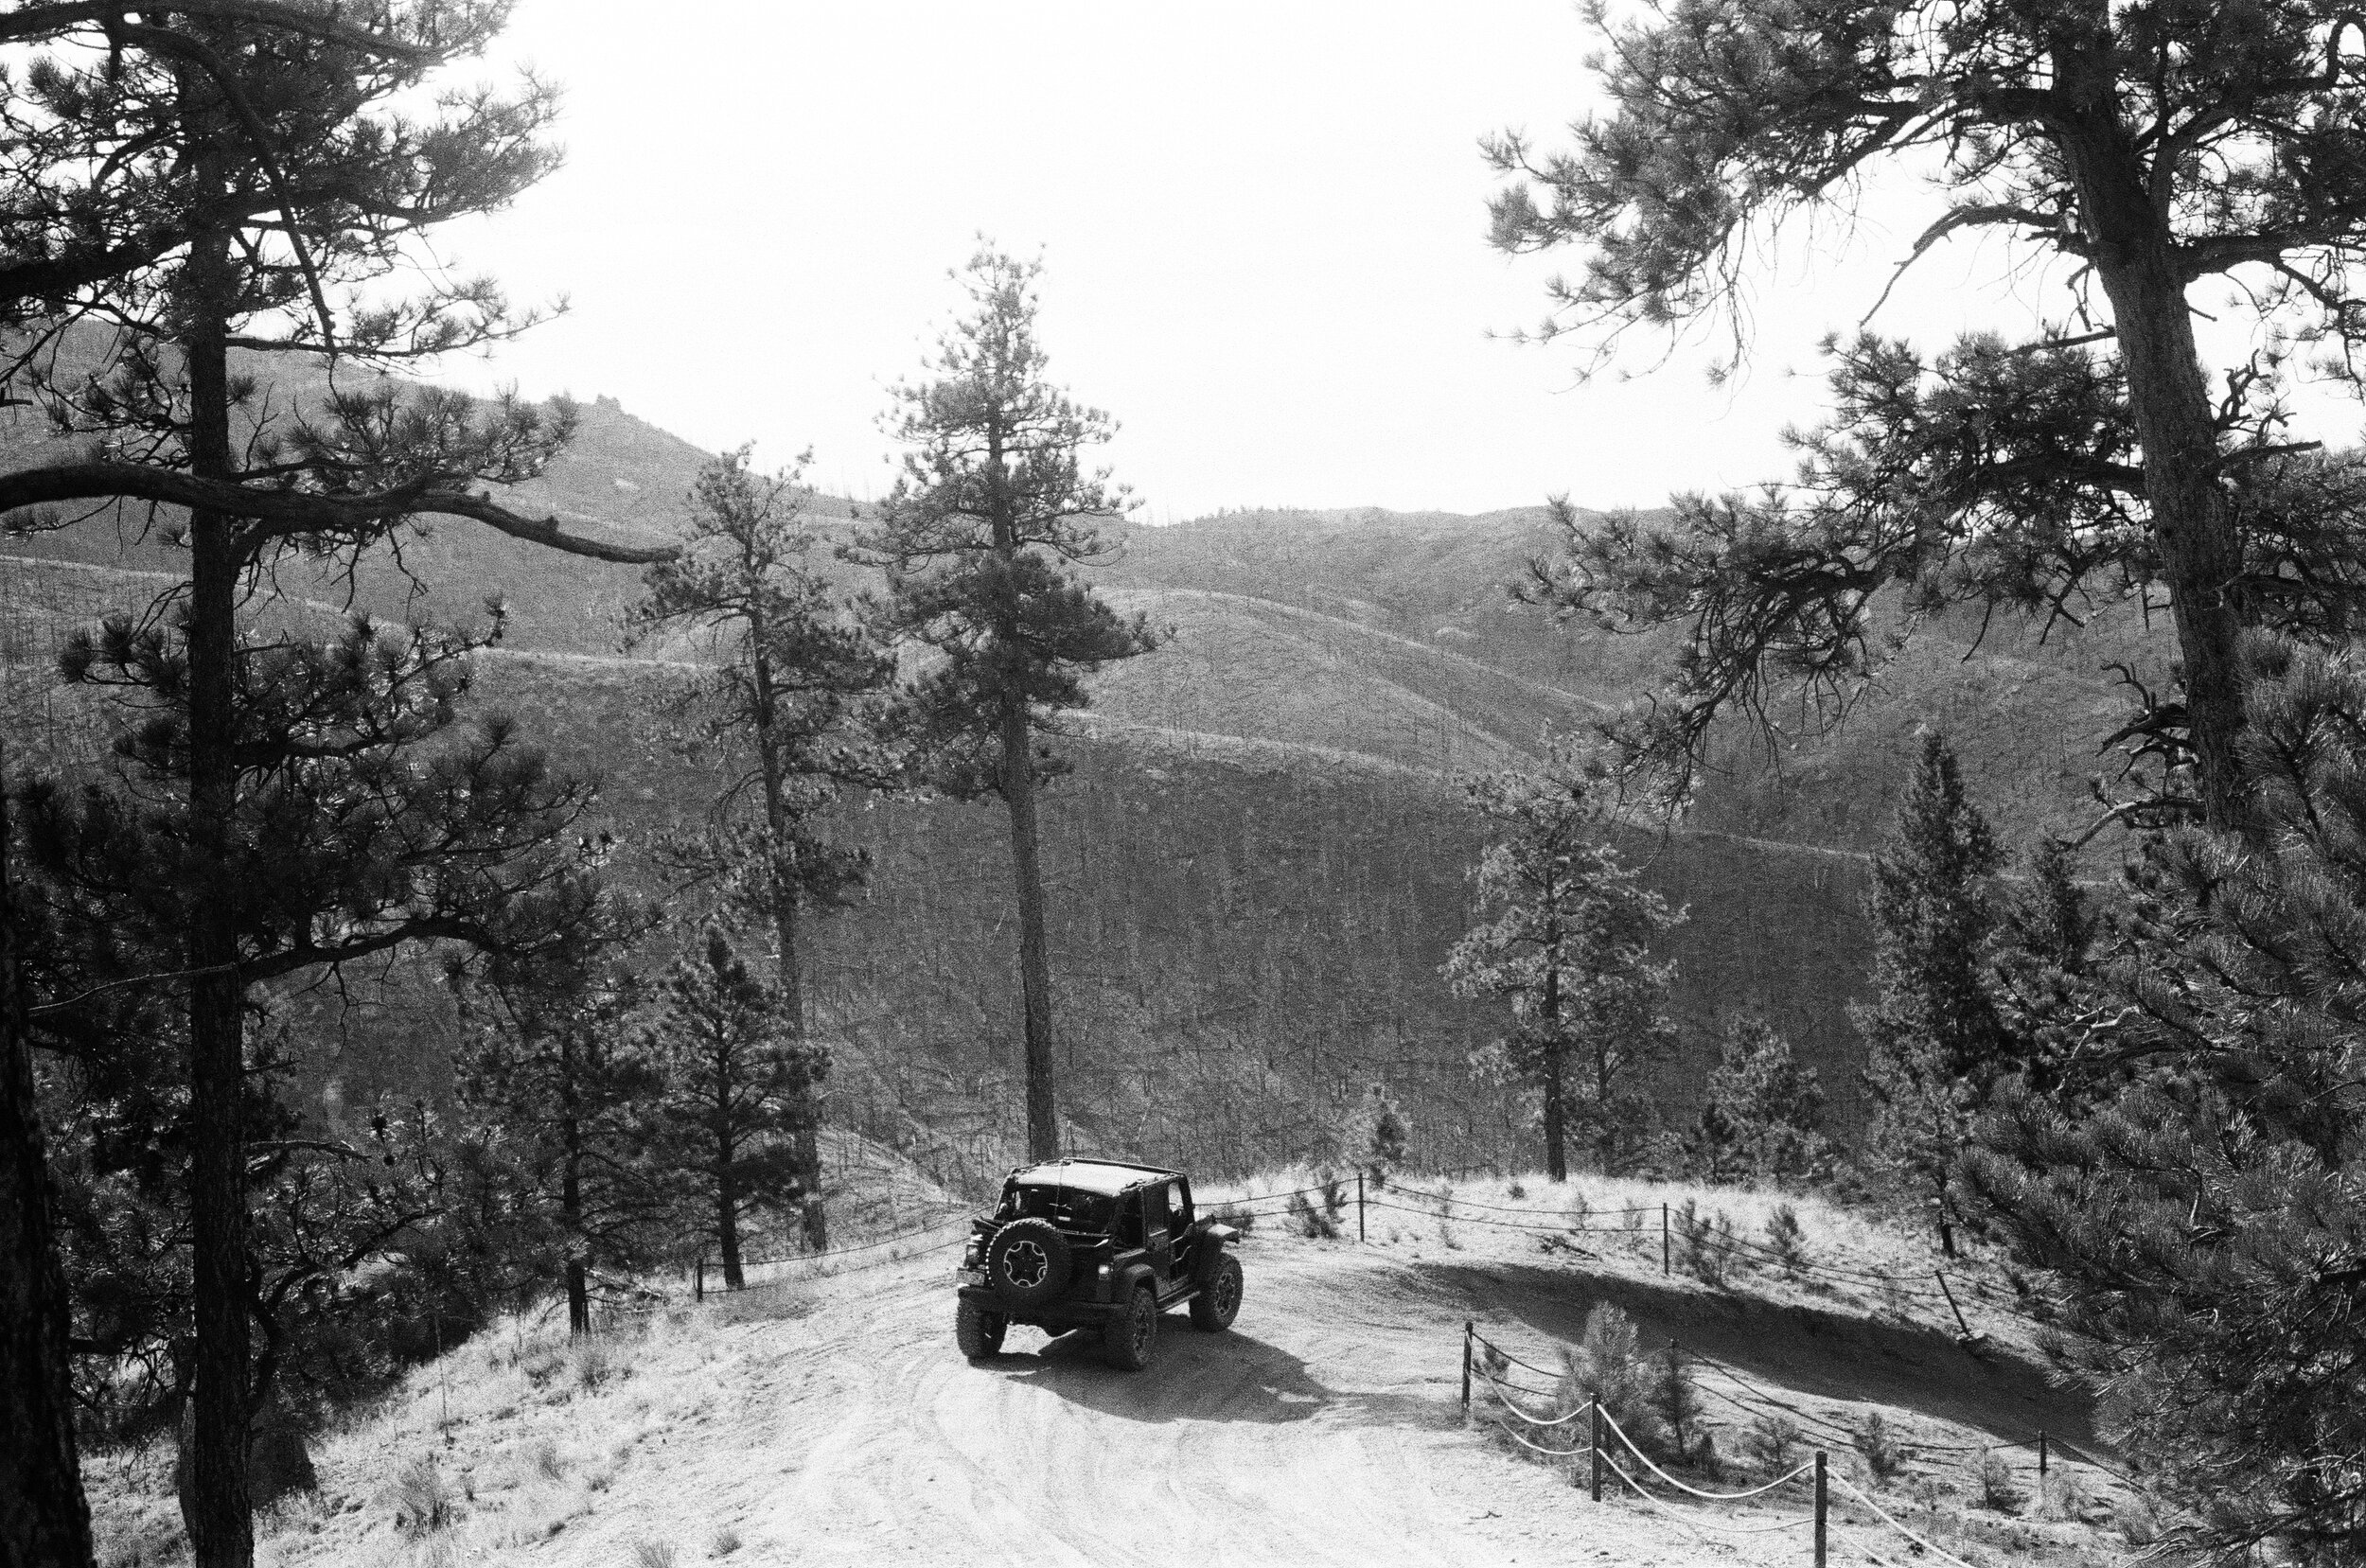
There are use cases for wanting a minimal-to-no grain image. If the image itself has a lot of texture in the subject area, additional grain can potentially distract or muddy the detail. I’m thinking of a landscape image with lots of foliage (see examples both beside and below).
In a majority of images, however, the removal of grain (or noise) can result in a waxy, lifeless image. People look porcelain. Surfaces appear plastic. I don’t know I have an example of this effect to show, as I’ll usually dial back on the noise reduction when images reach that point.

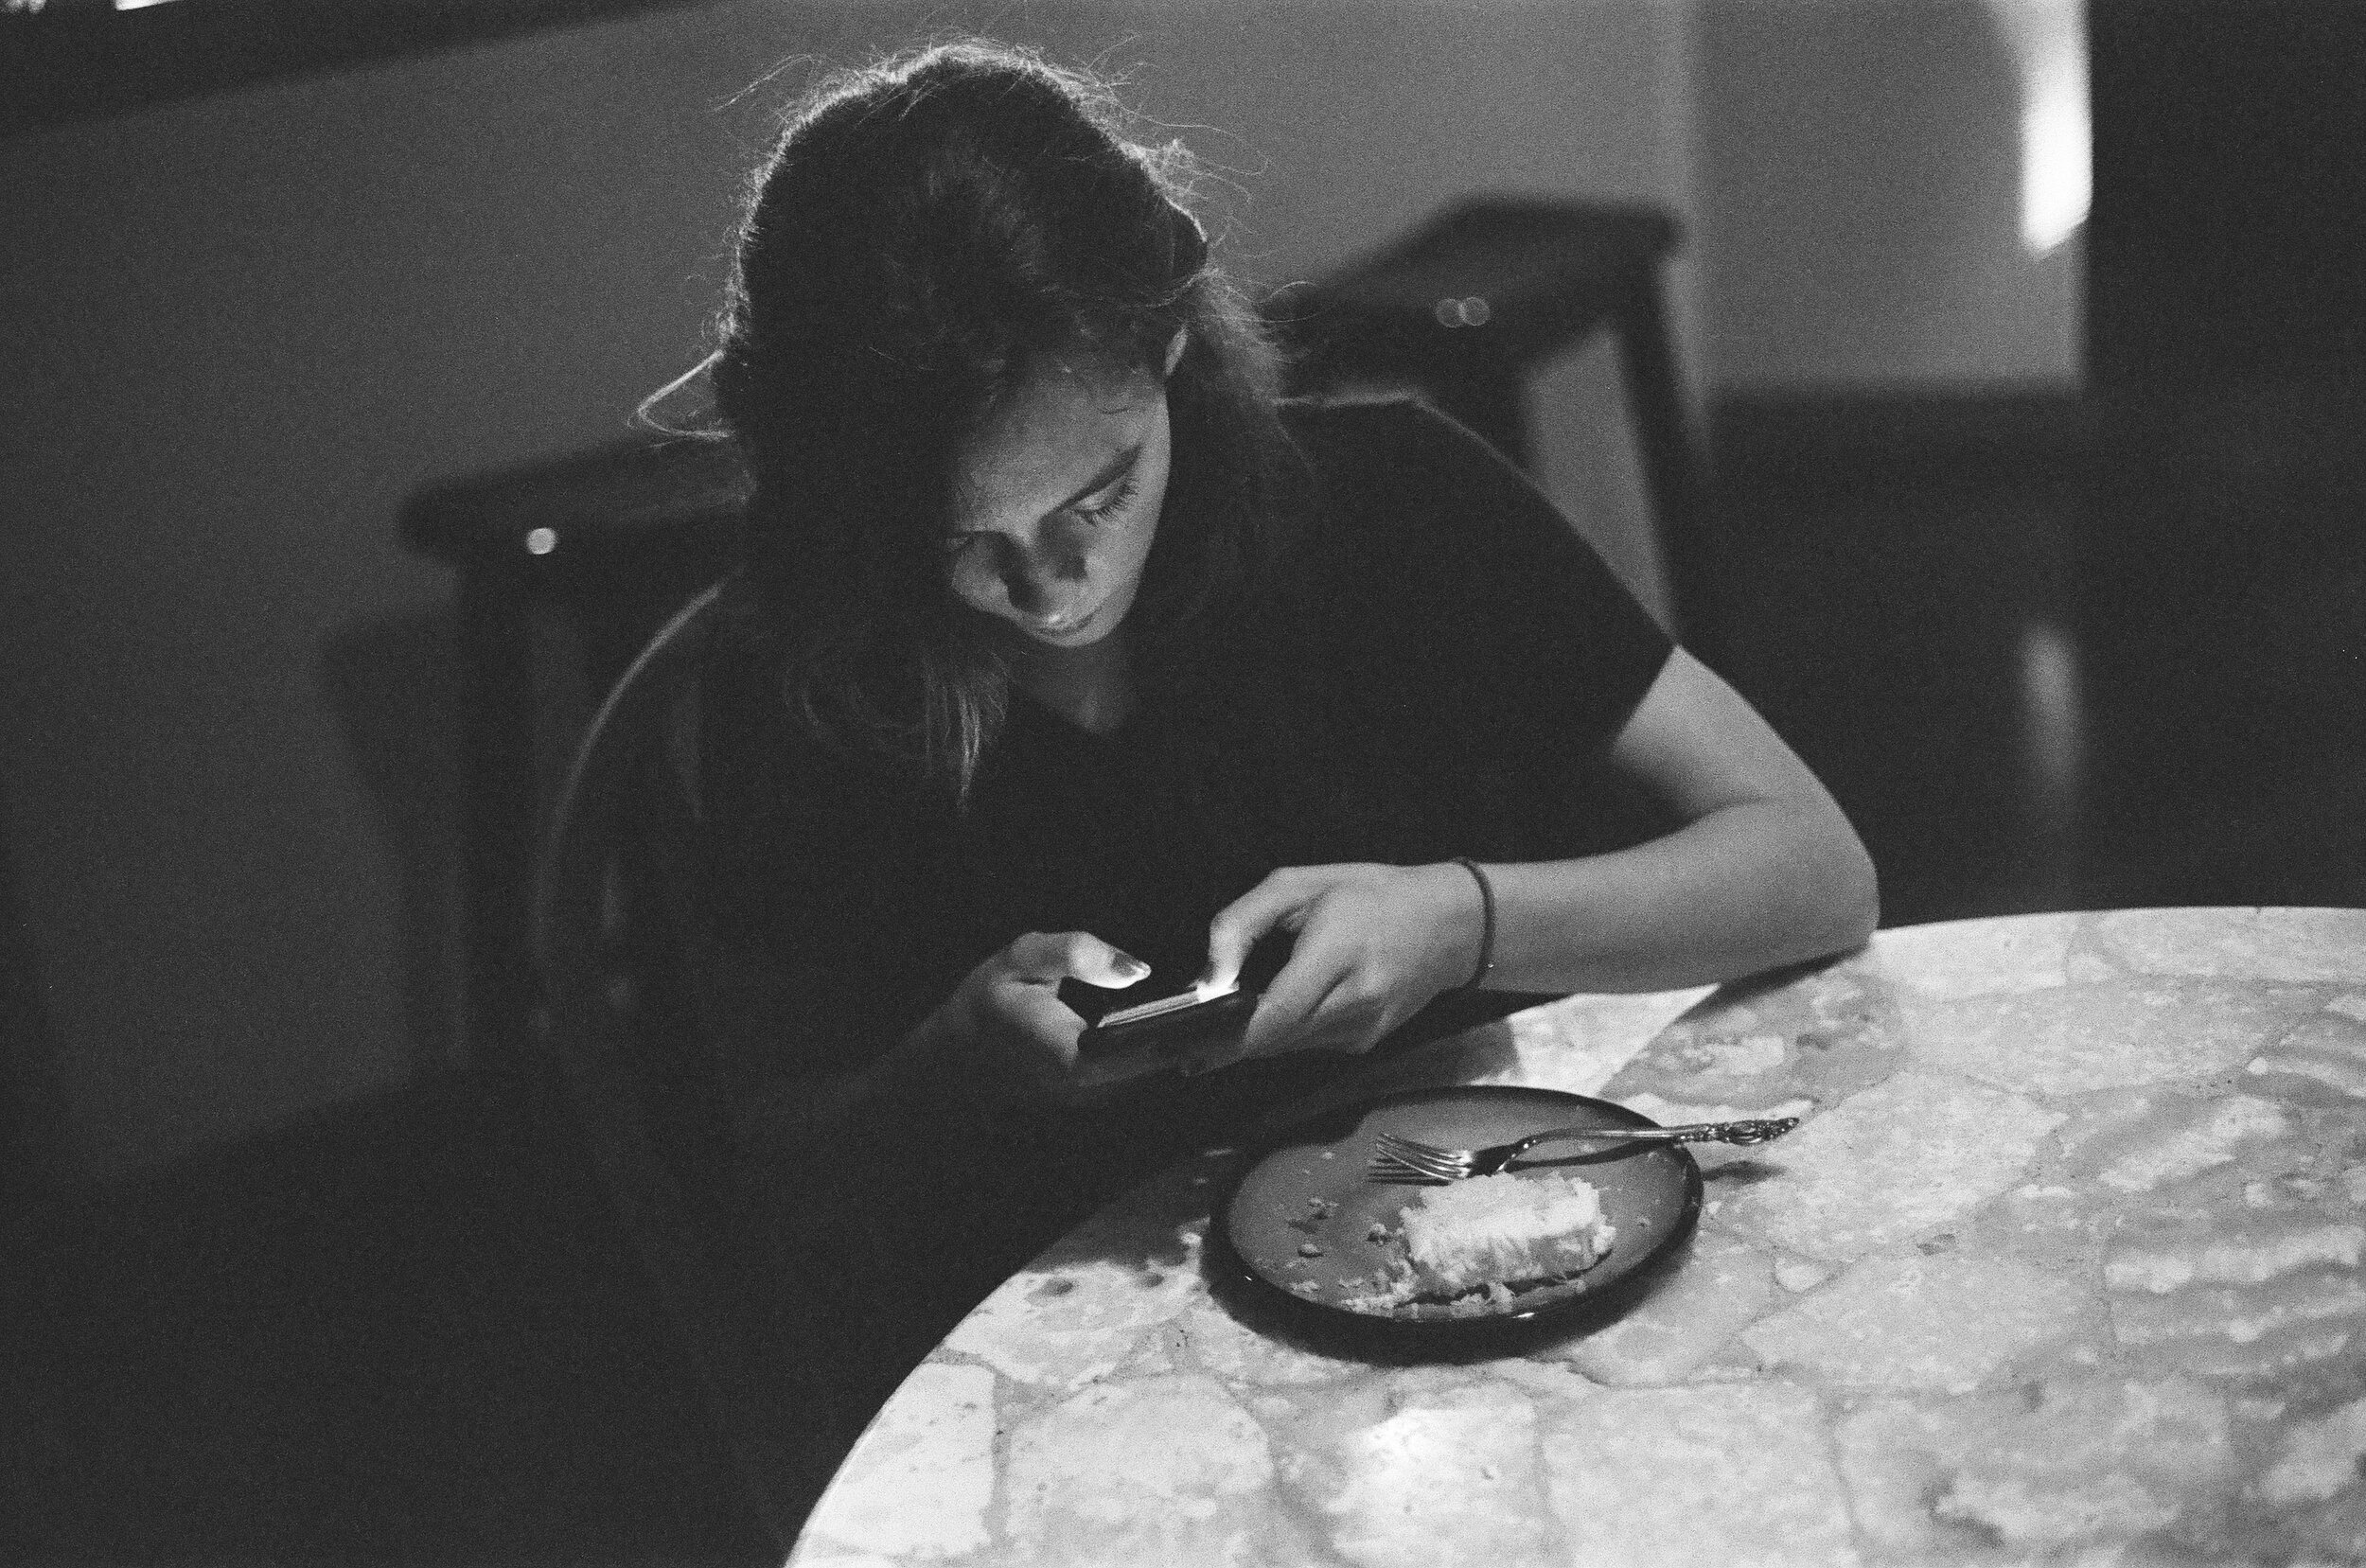
With film, particularly higher speed film (and ESPECIALLY in low-light conditions, particularly if the image is underexposed), you’re going to get grain.
Not all grain is equal, of course. Too much grain can drown an image out entirely. A light-to-moderate amount of grain in a darker image can, somewhat ironically, “smooth out” imperfections.
Think of grain similar to wall texture. Why do we apply texture to walls? Because the random application of imperfection across the entire surface helps mask the specific imperfections of the surface.
To be clear: there can be too much grain. It took a bit of post processing to get the “sleeping” image in the example here to a presentable state.
But the point I want to get across is that grain can serve a purpose. Shooting film makes grain unavoidable; learning to appreciate the aesthetics it provides can assist in your digital work.
Lesson 3: Less is More
As mentioned earlier, a few years back I’d fallen into a bad habit of shooting everything in burst mode. I’d get back in front of a computer to sort the images and be faced with flipping through hundreds, possibly thousands, of images — many of which were essentially the same image.
Burst is fantastic for blink-and-you’ll-miss-it moments, like sports or babies or pets. Just use it with discretion. When at all possible, keep the camera on single shot and be deliberate with your photography. Establish your composition, check the corners and the horizon to ensure the image is level and is framing your subject how you’d like. Check your exposure level; sometimes the difference between “meh” and “wow!” is a slight under- or over-exposure to an image.
(Don’t worry too much if you get back in front of a computer and still want or need to crop an image, or adjust the exposure, etc. I’ll often take a picture in the native 3:2 aspect ratio but with the intent of cropping it square or wide later on. There’s also plenty of images that still just need some touch-ups. Just keep in mind what enhancements you do in post so that next time you can try to apply those in-camera.)
Even in single shot mode, you may come away from a session with hundreds of images. I recently took some graduation photos over the course of about 6 hours at a variety of locations, and came home with just over 1,300 images to sort through. That’s typically an exception, though. It’s been far simpler to sort through a few dozen images, or perhaps 100-200, where there’s only a handful of images to choose from for each location / subject.
The “less is more” approach should also be applied to how many shots you keep from a session. That graduation session of over 1,300 photos? I was able to reduce my “finals” down to just 36 print-worthy keepers. My philosophy is to have two tiers of “keepers”: one tier for sentimentality or memory purposes, but which might not be print (or share/post) worthy; and a second tier to truly represent the memory or experience. Let’s be real: no one wants to look through 78 of your vacation/dog/kid pictures. No one.
NO ONE.
Set a goal of either 24 or 36 images to be your maximum amount of photos you’re willing to keep from any given shoot. Now, I will say: if your memory card is holding multiple shoots, or your event has multiple phases to it (say, a wedding where there’s pre-event, main event, post-event, a reception, etc) then each phase could be considered a “shoot” and have 24-36 images kept as representation.
Even if your work is for paying clients, I’d try to keep the end results down to a minimum. If the client insists, or if it’s agreed upon in a contract, then providing the larger collection of “sentimental” images might be acceptable — I’d just make sure that they’re clearly separated from the truly stand out work.
Lesson 4: Film = JPG

An in-camera JPG with the Fuji XT-3. Absolutely 0 post-processing.
It’s become a common maxim in digital photography to “always shoot RAW.” The intent is to allow a photographer maximum flexibility to manipulate the end result during post-processing. Prior to digital photography, how would a photographer dodge or burn an image to modify levels of brightness or darkness? In the darkroom during the emulsion process, with chemicals and other tools. Very few photographers (relatively speaking) would go through this trouble. Most of us would send our film off to be developed, and what we got is what we got. Our best tool was the camera itself: adjust the aperture, or the shutter speed, or perhaps push the ISO dial just a bit one way or the other, to manipulate the amount of light exposed onto the film. If you’re looking to emulate the experience of shooting film but with digital tools, then shooting JPG is the best way to do so.
That isn’t to say that a scanned negative or even a scanned print can’t be touched up and reprinted; however, the limitation to options are very similar with this process as they are with JPG images. (JPG’s have actually come a long way, and can be almost as pliable as RAW images in some scenarios; but I digress.)
One of the problems I have with “always shoot RAW” being spouted by every half-wit with a camera is that they seldom follow-up that advice with any meaningful post-processing discussion. A RAW image is very large, and very flat. Contrast and color options that the camera would otherwise apply are bypassed. I’ve known photographers who simultaneously adhere to the “always shoot RAW” concept, as well as the idea that “post processing is manipulation of an image and is to be avoided for PURITY!” You can see where this creates an impassible problem: their images are boring. Like, really boring. Like, find a new hobby boring. The digital storage industry thanks them for their business, though.
One size obviously does not fit all. There are times when shooting RAW is appropriate because post processing is a part of the plan. Just keep in mind that extensive post-processing doesn’t always have to be a part of the plan. Experiment with your camera’s JPG settings. Again, this is a major factor in my moving to Fuji digital cameras: their in-camera film simulation modes (especially coupled with other customization options) can create a truly unique image straight out of the camera. Pair this with the increased focus on composition and exposure, and you can quite often achieve an excellent image straight out of camera (SOOC for short) without any post processing.
Lesson 5: Embrace the Imperfections
Shooting digital provides instant feedback: hit the shutter button, “chimp” (check the image on the LCD immediately afterwards), take another image, “chimp” again… we’ve all done it, and we’ve all seen others do it. Shoot with film, though, and the intended result is completely in your mind’s eye. You need to “see” the intended end result before ever putting the camera to your face. When you get your results back, sometimes (err… often times) the end result isn’t exactly what you’d been going for. The more you shoot with film, the less of a delta there is between your intent and your end result; much of the variation comes from the characteristics of the film itself. Some film provides less contrast or saturation; others might have a slightly warmer or cooler hue to the images. Perhaps you didn’t quite expose the image how you’d have liked, particularly if your subject was back-lit. Depending on the state of the camera you’re using, you might even have light leaks or double exposures appear on some images.
This is all okay!


I won’t pretend that some images are just flat-out ruined or unusable when these issues crop up. Sometimes they are. But if you learn to stop worrying and embrace the imperfections, you’ll find that it’s those mishaps or variations which give your work a “soul”.
One of the complaints I had about my own work prior to my switch from Canon to Fuji was that my post-process workflow resulted in images that all looked… well, the same. They’d be pretty, they’d be nice, but… I’d pull shadows a bit so nothing was too dark, or lower highlights so nothing was blown out… increase some saturation here and decrease it there… make sure everything fit in the histogram… and voila, The Perfect Photo! Except for the part where it had as much life as a mannequin.
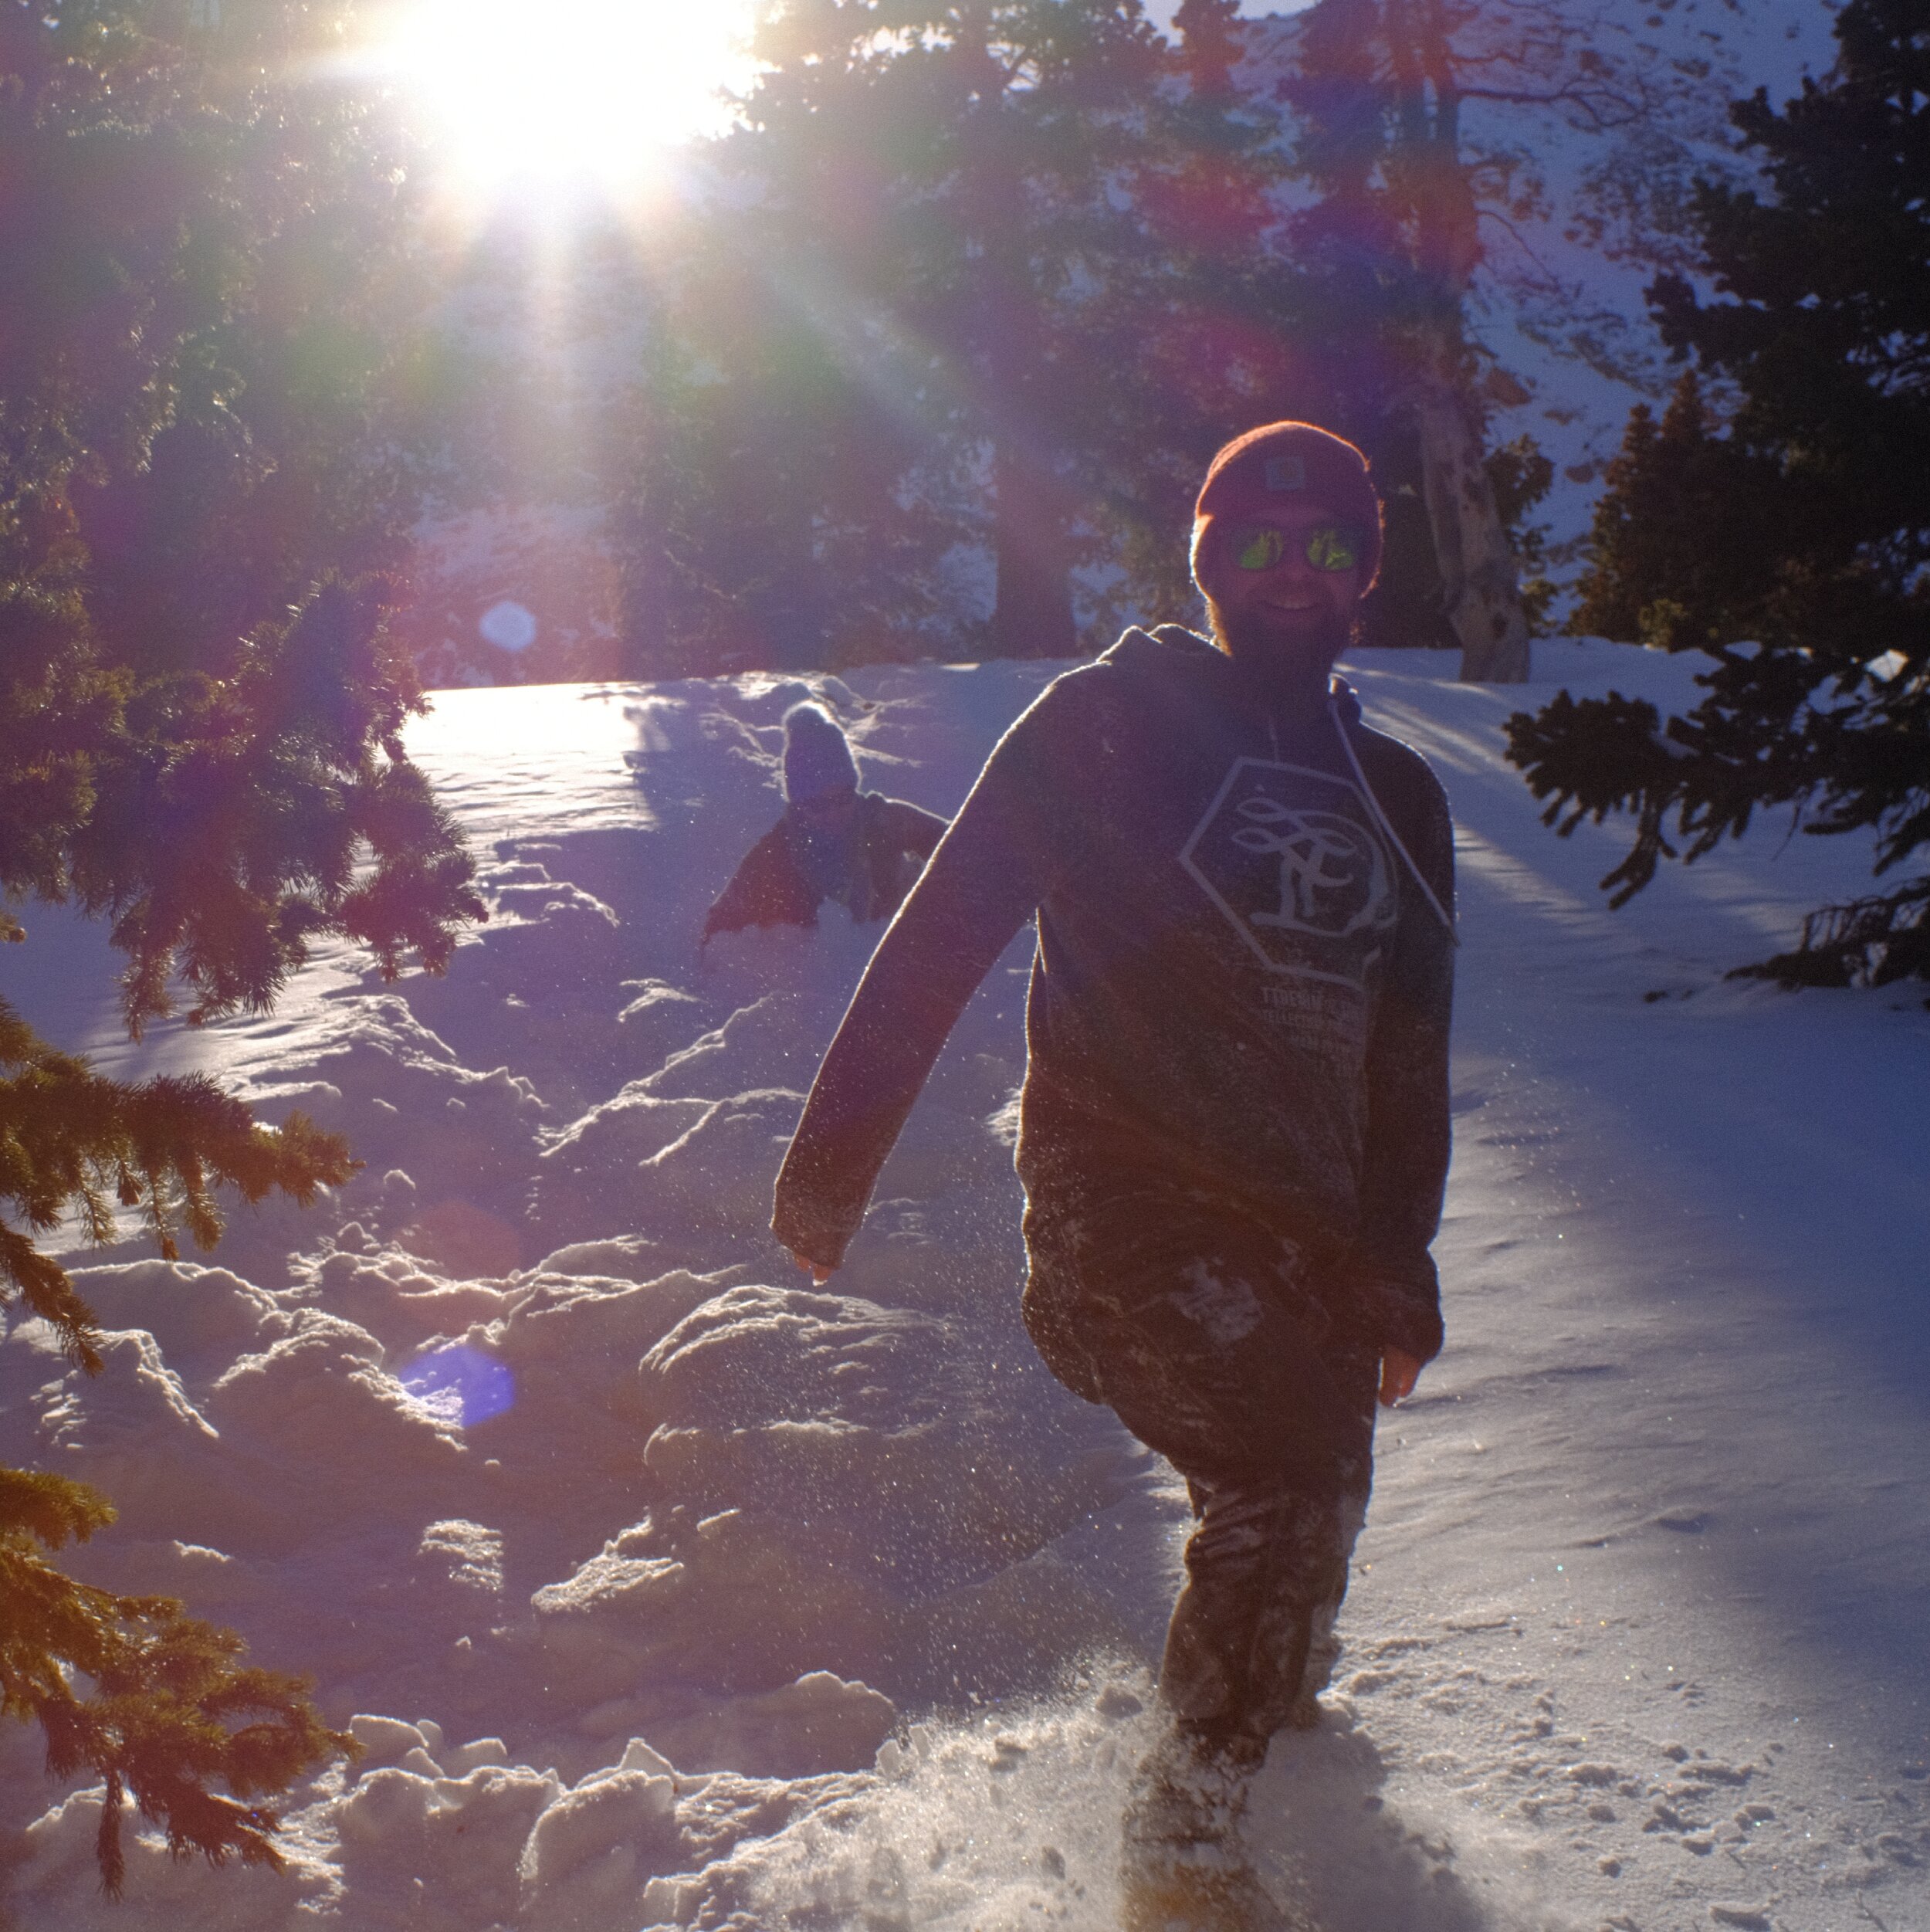
In these examples (all digital), many of which involve lens flare & backlit subjects, I’d have considered the results subpar and not worth keeping. At the least, I’d have spent possibly hours in post-processing trying to adjust the images to try and obtain a certain level of “purity” in the image. (Incidentally, these were all taken with vintage lenses.) However, by embracing the imperfections of the image, each one has its own character. If every image should tell a story, then the character of the imperfections enhance the story.
This is a lesson best taught through the use of film. You’re just not going to always get the results you’d hoped for.
In my most recent batch of film, I noticed that on several images there were odd, unintentional double exposures. It appears that the film didn’t advance entirely to the next frame. On a few others, the way the light refracted in the lens resulted in some interesting results.


Color film, in particular, is going to have a predetermined aesthetic depending on the brand and type. For example, Fuji film is known to have a cooler, greener tint; Kodak on the other hand tends to skew a bit warmer with more of a pinkish-orange hue. The above color images were taken with Fuji 400h.
A great takeaway here is to limit the amount of post processing you do on your digital work. If you can’t get the results you want within 5-10 minutes of post work, then the image probably isn’t great. And that’s okay! Identify what you don’t like about it, what you were trying to edit away, and file that information away for your next experience.
Lesson 6: Patience is a Virtue
When you’re working with film, you often won’t see the results for days or even weeks (or possibly years!) after you’ve taken the photos. There’s something truly cool about revisiting those memories much later after they’ve been taken.
In the digital era, it’s easy to come home from a photo session, load up a card, and immediately go to work. My advice is: don’t do that. If you want to offload the images onto a hard drive to be processed later so the card can be cleared, that’s perfectly understandable. Just… just give yourself a few days, maybe a week or two, before truly sorting through the images. You’ll find that your perspective on the work will be different than it was right after taking the photos. I’ve often found myself disillusioned by my work when looking at it right after taking it; however coming back to it after a week or so I’m much more accepting and appreciate of the results. I’m able to see details or appreciate nuances that at first I’d looked past.
Film I’ve Used, and What’s Next
I picked up an Olympus OM10 camera body to go with a lens I already owned and had been using on my Fuji digitals: my 28mm f/3.5. I do have a roll of Tri-X TMAX 400 black and white film that needs to be developed which I ran through the Canon; it has some more graduation photos and other things on there, but it’ll probably be a few weeks before I see those results. I prefer to send in a few rolls at a time.
My plan is to run color film in the Canon and black & white in the Olympus.
For color film, I’m trying out Kodak Ektar 100; I’ve read/seen that its color rendering is very similar to a style I like to mimic: deep, rich colors that are vibrant without being over-saturated. The hue seems to lean towards a sort of violet, in that the reds and blues are particularly affected.
My previous roll of color film was the Fuji 400h, which is theoretically similar to the “Pro Negative Standard” on the Fuji X-Series digital cameras. It definitely has a greener, cooler shift with the color saturation depending on the lighting but mostly being somewhat mild-to-medium. I have 3 more rolls of Fuji 400h coming in the mail that I’ll use along with the Ektar so I can get a feel of which I like more. My Fuji fanboi in me wants to roll with Fuji all the way, but… if I can achieve results with the Ektar film similar to what I’ve seen from others, that’ll be tough to beat.
Right now for black and white I’m pretty much exclusively using the Kodak Tri-X TMAX 400. I’ve been pretty happy with its results. Back when I was shooting film exclusively (the pre-digital days) I’d use Ilford’s HP5 Plus 400. It’s been too long since I’ve used it though to offer any useful feedback on it.
More interestingly, however, I’m pushing the ISO on both cameras: despite the Ektar being 100 speed film, I’m shooting it at 400 speed settings & will request it be processed as 400 speed film. Likewise, on the Tri-X, I’m shooting it at 800 speed & will similarly request it be processed at 800 speed. This is definitely new territory for me. When you set the ISO speed on your camera, you’re basically just telling the camera what the proper aperture & shutter speed settings should be to obtain proper exposure. It’s actually the development process that determines if your shots will be under- or over-exposed. If I shoot an entire roll of film with the assumption that it’s 800 speed film, but it’s only processed as 400 speed, then everything will be under-exposed; however if the film is processed as 800 speed, then exposure will (theoretically) be correct.
The difference is that the longer time spent in the chemicals can change the results. From what I’ve read and seen, it can make black and white images display more contrast, and color images appear more saturated and possibly deeper in color. It’ll also increase the grain, since the film is being shot at faster speeds.
For the Ektar film, I’ll probably shoot 1 roll at 400 and 1 roll at 100 so I can compare. For the Fuji 400h, I might try one at 800, one at 1600, and maybe do the opposite and shoot one at 100 speed. I might shoot at least 1 roll of black and white at 100 speed as well.
It should be interesting!
Edit: I can’t believe I left this out originally, but for my film development needs, I use The Darkroom.
One day I’ll take on self-developing film. Maybe.
Just The Pictures
Alright, alright. These are some of the “best of” images from the 3 rolls I had developed recently. Dates range between ~2015 to May 2020.


